
How to Label Plants So the Names Last for Years
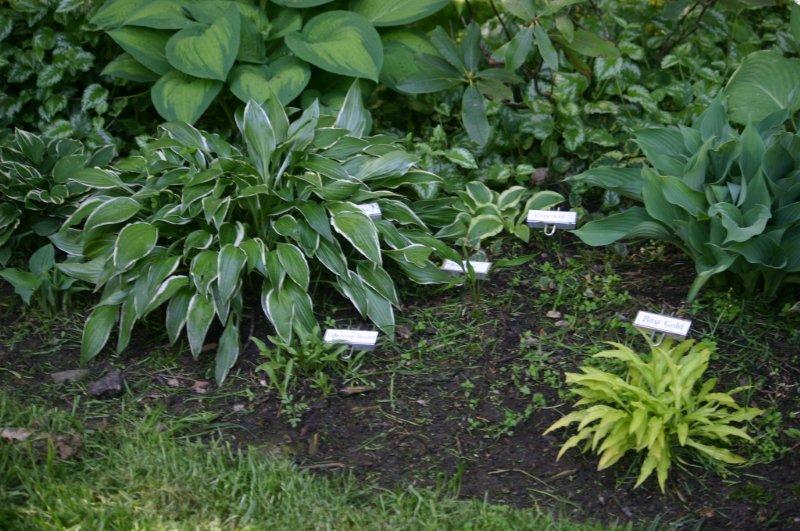
Every spring it’s the same story. The nursery tag has faded or blown away, and now you’re guessing which daylily is which.
Our family learned this the hard way. Gary Kincaid once grew a commercial iris garden with over 1,500 named varieties, so every name mattered. When ordinary markers kept bending, rusting and losing their plates, he designed his own. Here’s what we’ve learned about how to label plants in the garden so the names are still readable years from now.
Step 1: Decide what goes on the label
Keep it short enough to read at a glance. For most plants, two or three lines is plenty:
- Common name or variety name (for example, ‘Stella de Oro’ daylily)
- Botanical name if you want it (for example, Hemerocallis)
- One extra detail, such as the year planted or where it came from
For named varieties like hostas, daylilies, irises and roses, the variety name matters most. You can’t figure it out later just by looking.
Step 2: Pick a marker that won’t fail first

A label is only as good as what holds it. Look for:
- Rust-proof metal. Our Signature and Collector Series markers are 100% stainless steel, post and plate. The Garden Series is a lower-cost option, with a galvanized steel post and a stainless steel plate.
- A post that won’t bend. Our Signature Series uses a thick #10 gauge post (.135 in.), and the Collector and Garden Series use a #13 gauge post (.092 in.).
- A plate that stays put. Our “captive plate” design keeps the plate from falling off or sliding down the post, but you can still remove it when you need to.
- A plate you can read standing up. Every Kincaid plate is tilted at 45°, so you don’t have to bend down to read it.
Choose the right height. The plate should sit above the mulch and in front of the foliage. Use short markers for herbs and low perennials, and taller ones for bigger plants. Our markers come in sizes from 6 to 20 inches, depending on the series.
Step 3: Use a labeling method that lasts
This is where most labels fail. Here are four methods that work on our stainless steel plates, starting with the one we trust most.
1. Brother P-touch printer with TZe laminated tape
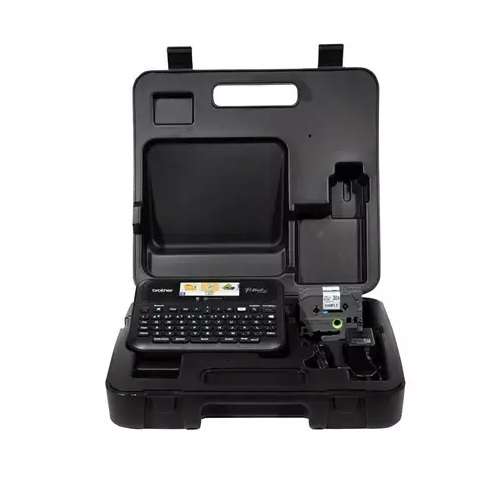
This is our favorite. We’ve used Brother P-touch printers with TZ-style laminated weatherproof tape in our own gardens since 1999. To date, we’ve never had a label fade or peel off. Many of those first labels are still in our garden and are as easy to read as the day we put them out. We like black letters on a white tape.
If you buy a printer, make sure it prints TZ/TZe-style tape. A few Brother models are made for indoor labels only. We sell the Brother P-touch PTD-610BTVP ($169.99), which prints from its keyboard, a computer or your phone.
2. Engraved labels
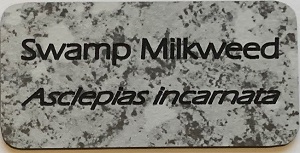
If you’d rather not print anything, we’ll do it for you. We engrave your plant names, up to 3 lines, onto UV-stable, outdoor-weatherable impact acrylic. You can choose from 17 colors and 4 sizes. Send us your list (a spreadsheet works best), and we’ll email proofs before we engrave. Engraved labels start at $2.85 each.
3. Weatherproof labels with a UV cover

This is a good budget option. Write on a white weatherproof label (or print a sheet on a laser printer), stick it on the plate, and put a clear UV cover over it. The cover helps block the sun’s ultraviolet rays so the label doesn’t fade. Our Weatherproof Labels with UV Covers come with 30 labels and 30 covers for $8.00.
4. Paint pen, right on the plate
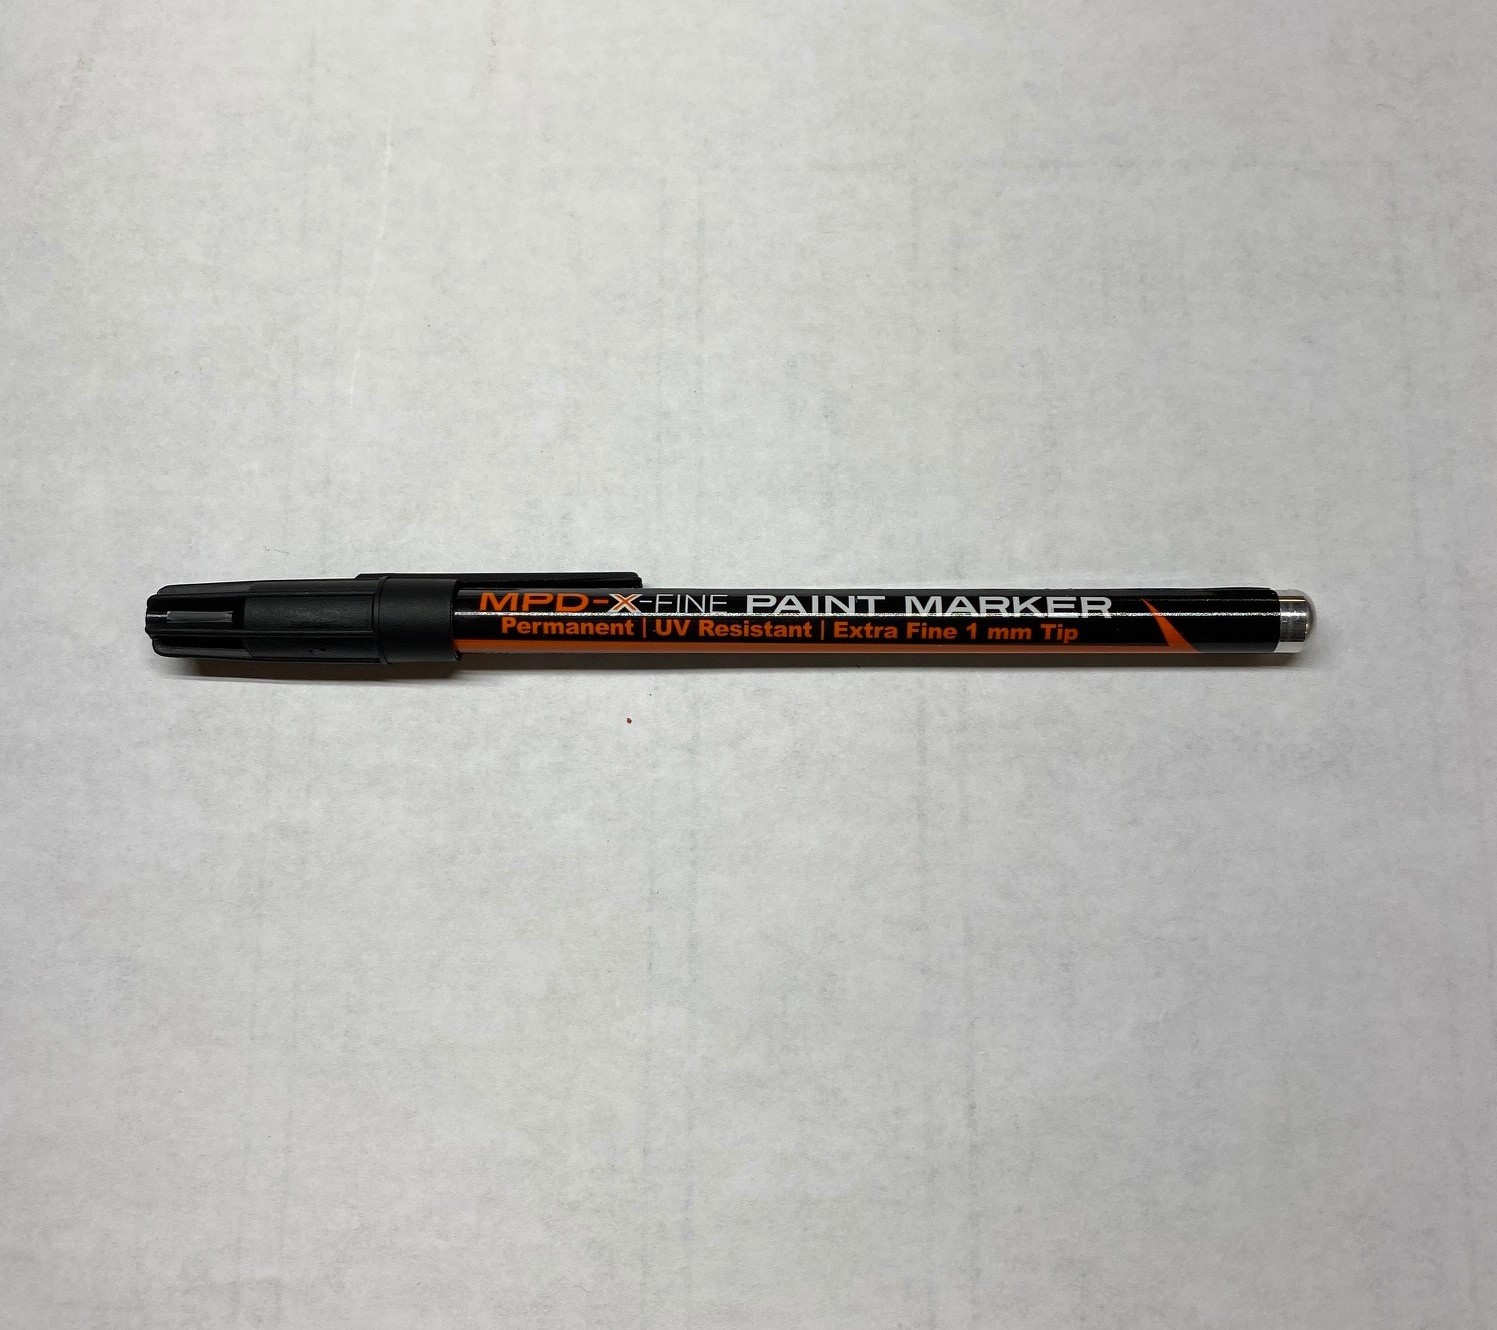
No label needed. Write the name directly on the stainless steel plate with a paint pen. Paint pens are very permanent, so double-check your spelling first. Our Black MPD-X Paint Pen, Fine Point, is $5.49.
What doesn’t work well
Regular marking pens, china marking pencils and grease pencils don’t hold up on our plates. The stainless steel surface is too smooth for them to grip.
Application tip: Put labels on a clean, dry plate. Press them down firmly, especially at the edges.
Step 4: Put markers in the same spot every time
Pick a rule and stick to it. For example, always put the marker in front of the plant, or always on the same side. That way, when a perennial dies back in winter, you’ll still know exactly where it is and which marker goes with it.
Fall is a great time to do this, while you can still see what’s growing.
Step 5: Keep a backup list
Even the best marker can get moved by a dog or a mower. Keep a simple list or a hand-drawn map of each bed. A spreadsheet works great. If you order engraved labels from us later, it’s the same list you’d send us anyway.
Quick checklist
- Variety name first, then the botanical name if you want it
- Stainless steel marker with a plate that can’t fall off
- A height that keeps the name above the mulch and foliage
- Laminated tape, engraved acrylic, a UV-covered label or a paint pen
- Same spot every time, plus a backup list
Get set up for spring
- Collector Series Plant Markers (A-Style and L-Style Markers, 100% stainless steel, from $26.95 for a Bundle of 25)
- Signature Series (our heaviest, from $34.13 for a Bundle of 25) or Garden Series (from $23.10 for a Bundle of 25)
- Brother printer and TZe tapes · Labels, UV covers and paint pens · Engraved labels
- Not sure which style? Try the Introductory Bundle: one of each of our 6 styles for $10.45, shipped free within the continental U.S.
Labeling a big garden? Buy 4 or more bundles of Signature, Collector or Garden Series markers and every bundle gets the 4-bundle price. Mix and match any styles and sizes.
We pack and ship within one business day. Questions? Call Gary or Jeff at 816-324-4931.